Documentation Index
Fetch the complete documentation index at: https://docs.optexity.com/llms.txt
Use this file to discover all available pages before exploring further.
This guide walks you through recording your first browser automation and running it via the API.
You will build an automation that logs into the website stockanalysis.com and searches for a stock symbol.
And it will extract the stock price for that stock symbol.
What you’ll learn:
- How to record browser interactions with the Optexity Recorder
- How to understand and edit automation JSON/Python
- How to run your automation via the API
Prerequisites
Create an account
Head to dashboard.optexity.com and sign up for a free account.
Get your API key
Once logged in, navigate to the API Keys section in your dashboard and create a new key.
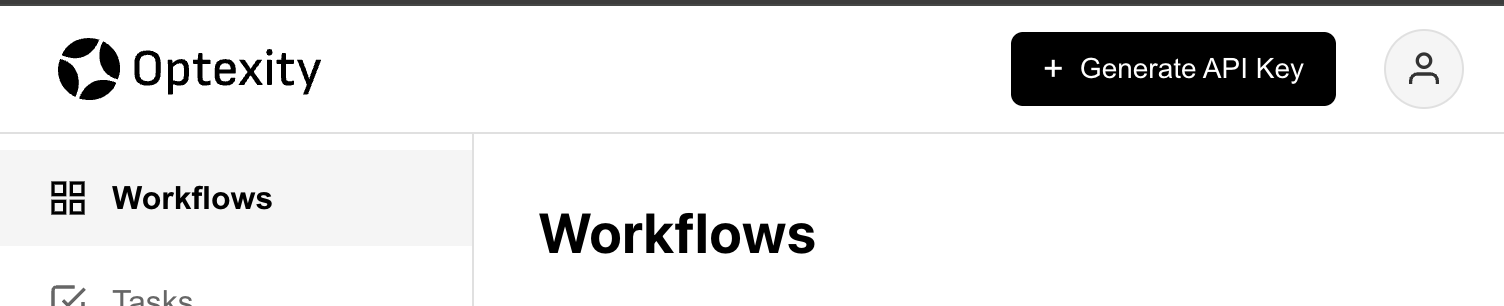
Install the Recorder Extension
Install the Optexity Recorder extension from the Chrome Web Store. This extension captures your browser interactions and converts them into automation workflows.
Install the extension
Click “Add to Chrome” on the Chrome Web Store page
Pin the extension
Click the puzzle icon in Chrome and pin Optexity Recorder for easy access
Add your API key
Click the extension icon and enter your API key from the dashboard
Record the Automation
The fastest way to create an automation is by recording your actions directly in the browser.
Navigate to the target website
Open Chrome and go to the website you want to automate (e.g., https://stockanalysis.com/)
Start capturing
Click the Optexity Recorder extension icon and hit Start Capture
Perform your actions
- Click on the “Search” button - Enter the stock symbol in the search bar - Click on the
first result in the search results
Stop and save
When finished, click Complete Capture. The automation is automatically saved to your
dashboard as a JSON file.
Recording Tips:
- Perform actions slowly and deliberately for better accuracy
- Avoid unnecessary scrolling or hovering
- The recorder captures clicks, text input, and form selections
Understand the Automation Structure
Once recorded, your automation is saved as JSON on the dashboard. By default, the automation contains the necessary actions
captured to perform the automation. Here is the automation that will be saved after recording.
{
"url": "https://stockanalysis.com/",
"parameters": {
"input_parameters": {
"search_term": ["test_search_query"]
},
"generated_parameters": {}
},
"nodes": [
{
"interaction_action": {
"input_text": {
"command": "locator(\"#search-header\")",
"prompt_instructions": "Fill the input field with ID 'search-header' with the value of the 'search_term' variable.",
"input_text": "{search_term[0]}"
}
},
"end_sleep_time": 1.0
},
{
"interaction_action": {
"click_element": {
"prompt_instructions": "Click on the link with the name of the stock equivalent for {search_term[0]}."
}
},
"end_sleep_time": 1.0
}
]
}
By default, the automation will only capture the interactions with the website. We want to extract the stock price from the webpage to use it for our tasks.
We can add an extraction action to the automation to extract the stock price. Copy the following code block, go to Optexity Dashboard, click on edit the automation, and paste the code block in the nodes section.
This code block will extract the stock price, stock name, and stock symbol from the webpage using an LLM.
{
"extraction_action": {
"llm": {
"source": ["screenshot"],
"extraction_format": {
"stock_price": "str",
"stock_name": "str",
"stock_symbol": "str"
},
"extraction_instructions": "Extract the stock price, stock name, and stock symbol from the webpage."
}
}
}
After pasting the code block, save the automation. The full automation should look like this:
{
"url": "https://stockanalysis.com/",
"parameters": {
"input_parameters": {
"search_term": ["test_search_query"]
},
"generated_parameters": {}
},
"nodes": [
{
"interaction_action": {
"input_text": {
"command": "locator(\"#search-header\")",
"prompt_instructions": "Fill the input field with ID 'search-header' with the value of the 'search_term' variable.",
"input_text": "{search_term[0]}"
}
},
"end_sleep_time": 1
},
{
"interaction_action": {
"click_element": {
"prompt_instructions": "Click on the link with the name of the stock equivalent for {search_term[0]}."
}
},
"end_sleep_time": 1
},
{
"extraction_action": {
"llm": {
"source": ["screenshot"],
"extraction_format": {
"stock_name": "str",
"stock_price": "str",
"stock_symbol": "str"
},
"extraction_instructions": "Extract the stock price, stock name, and stock symbol from the webpage."
}
},
"before_sleep_time": 3,
"end_sleep_time": 0
}
]
}
Video Tutorial
Next Steps
Now that you’ve built your first automation, you can run it via the API. Follow the Running first inference guide to run your automation via the API.